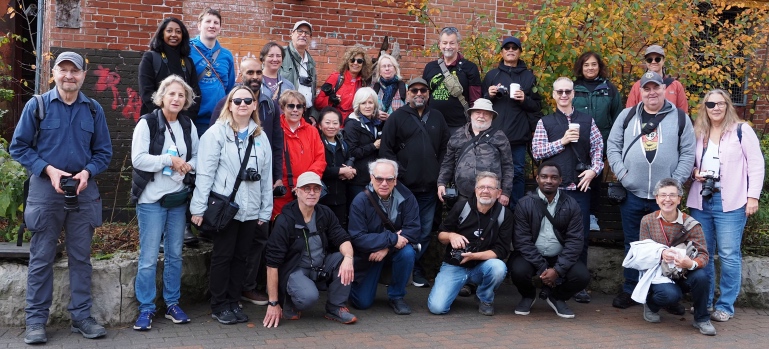
On Saturday the Toronto Photo Walk had about 30 photographers set off from the Evergreen Brickworks for a two-hour walk up to the Mount Pleasant Cemetery ending at a pub on Eglinton Ave.
On any of these photowalks there are photographers with years and years of experience and photographers who are using a digital camera for the very first time. I came across several brand new photographers who were struggling to get a photo from their new equipment.
So this post is for those absolutely new beginner photographers and it’s all about how to set up your camera (regardless of make and model) to take wonderful images.
So here’s the list:
- First before the walk charge the battery in your camera (you’ll probably want to buy a second battery)
- Next make sure your memory card has no old images on it
- Now format the memory card (and you’ll want more than one SD card)
- To learn how to do all of the above start by reading your manual
- Painful as it might be, if done right, this reading of the manual needs only to be done once and most of the information will apply to any future camera
- Use YouTube and Google to explain stuff you don’t know
- For now pay particular attention to shooting modes and the exposure triangle (how aperture, shutter speed and ISO create the right exposure)
- And if you’re a member of my club the Oakville Camera Club be advised there are mentors and lesson sessions coming up to help you
- Once you’ve read the manual it’s now time to setup the camera
- Set the image quality to JPG-Fine or if you know what you’re doing and you’re going to edit your images set the quality to raw (and you’ll need a raw editor like Lightroom to create your own JPGs)
- Set the mode dial on your camera to either “P” for program or if you know what you’re doing “A” for aperture (In P mode the camera is really just in Auto mode but any pop-up flash won’t automatically fire unless you manually lift the flash up. In aperture mode you control the aperture which controls the depth of field…again see YouTube)
- Next put the “Drive” into single frame (as opposed to multiple frame) mode
- Most cameras default to an average or matrix metering mode and that’s a good thing
- Check that the ISO (image sensor) is set to auto
- Check that the white balance (WB) is also set to auto
- Check that the focusing points are set to all (for now)
- Check that the exposure compensation (usually looks like a + and – sign in a black and white button on the camera) is set to 0 (usually seen in the viewfinder)
- If your camera has image stabilzation check that it’s on
- If your camera has a digital tele-converter turn it off and leave it off
- When you’ve returned home immediately download your images to your computer and to a secondary hard drive or a thumb drive (not as safe)
- Once you’re certain your original images and a complete copy are safely stored in two separate locations you can now safely format (completely erase) your SD card for future use)
- Depending on the sophistication of your camera there can be a lot more features to turn on or off and it will take some weeks and months to figure it all out
- But for now, this brief checklist will get you going and I’d highly recommend taking some lessons at a local club as soon as possible

Leave a comment