This series of posts are my notes for a flash workshop I am teaching to the members of The Oakville Camera Club.
Why buy a flash?
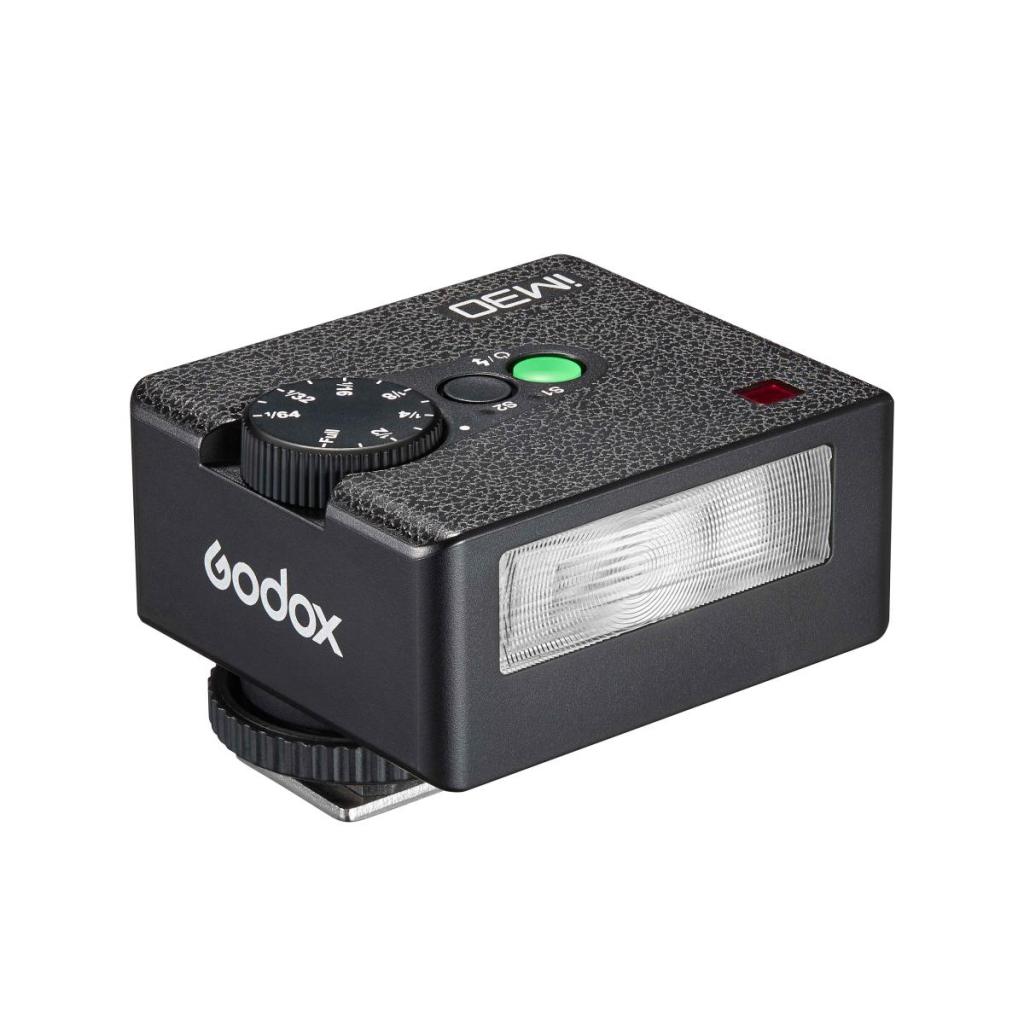
First of all flash units (also called speedlights) have dropped dramatically in price over the years. This Godox flash (in photo above) costs around $150 Cdn and will work with a wide range of digital cameras from many different manufacturers. (You do have to specify the correct camera as the flash comes in different setups for different manufacturer’s cameras.)
Second flash is really easy to use.
There is an auto setup that really is just basically point and shoot and you’ll get great results right away.
Third a flash will really make your Christmas shots or vacation shots in restaurants and other indoor places actually useable and even good looking.
Finally and fourth if you’re in the Oakville, Ontario area I’m teaching a flash workshop for members of The Oakville Camera Club on Sunday, Feb. 22.
Our workshop is going to be a hands-on, non-technical, practical approach to basic flash photography.
I’m bringing a few extra camera bodies with flashes so this workshop will be useful even if you don’t own a flash yet.
We’ll start with making certain your camera is set properly to shoot with your flash unit. For example, most digital cameras regardless of make need to be set in basic single-shot mode and not in electronic silent mode.
The simplest way to use your flash is to attach it to the hot shoe on the top of your camera. And as I said you must use a compatible flash with your camera. All the big manufacturers like Sony, Canon, Nikon and Olympus all sell their own excellent branded flash units while imports like Godox, Nissin and Yongnuo to name a few sell their own brand of flashes for all the major cameras at much lower price and comparable quality.
I’ve been using Godox flashes for years now and very pleased with them.
Make certain the flash is pushed all the way into the hot shoe and that any locking device is secured. Let’s start with putting your camera into “P” mode with your ISO setting on auto.
We’re going to start with TTL flash mode.
This is the easy auto everything mode that is a good place to start.
What happens in TTL mode is the flash will fire what’s called a “pre-flash” which will measure the distance to the subject and automatically adjusts the amount of light (the right level of power) to produce a perfect exposure.
Have a look at the image you just shot with your flash. It should look perfect especially if your subject wasn’t too far away.
And that’s it…end of the lesson.
Just kidding but in reality this is the way a lot of photographers setup their cameras and flash. While it might not be the prettiest of looks as direct flash results in a gritty even harsh look this is the way a lot of street photographers use flash for both nighttime and daytime shooting.
But there is something called Flash Exposure Compensation which allows you to override the TTL setting and set the flash to provide less or more light. You use this control to help balance the available light (if any) in the room where you’re shooting with the amount of flash to create a more pleasing image.
Shooting in TTL mode while keeping things simple does have some drawbacks.
First of all there are other creative ways to shoot flash that can be more beneficial when it comes to getting a good flash image.
Second professionals tend not to use TTL for several reasons.
The main one is shooting in aperture priority mode for example allows the photographer to control the aperture (and depth of field) while the camera chooses the appropriate shutter speed.
Because an external flash is on the camera, it’s the camera then that sets the correct flash synchronization speed (usually somewhere between 1/60th and 1/250th of a second).
So why do cameras have a flash synchronization speed?
It’s the speed of the shutter that allows for the shutter curtains in the camera to fully open and close when the flash goes off. Too high a shutter speed and you’ll actually see part of the image blacked out where the shutter hadn’t fully opened and closed during the duration of the flash.
So how to use aperture priority mode?
Set the camera mode dial to “A” for aperture and adjust the aperture from let’s say f/2.8 to f/11 and set the flash to TTL mode.
Here the camera will automatically selected the right shutter speed for flash synchronization and will now allow the camera to automatically balance the ambient light and flash via the TTL mode.
But I did say a lot of professionals don’t like TTL flash mode and shoot in manual mode with their camera.
How come?
Shooting in TTL mode can sometimes result in the flash under heavy duty shooting (like a wedding or a news event) not firing with exactly the same power every time.
What that ends up doing is changing the exposure sometimes from one shot to the next. This is not something you want to be doing if you’re aim is to properly expose something like a wedding dress exactly the same from shot to another.
So a lot of wedding photographers use manual mode on the camera where they set the shutter to the flash synchronization speed for their particular camera and the aperture to create the precise depth of field they want to capture. They also set an appropriate ISO setting.
Then on the flash they go to manual mode and they adjust the power output either using a flash meter (much preferred) or by looking at the results on the back of the camera.
This by the way is typical of most studio lighting situations where multiple flashes are balanced on manual mode using a flash meter.
On manual flash mode the flash ready light only comes on when the flash has fully recycled to 100% power and is ready to fire again. Sometimes on TTL mode the ready light can come on while the flash has not quite reached 100 % recycle time.
When it comes to professional-level shooting with a flash there is no such thing as too big a flash unit. The bigger the flash, the bigger the battery and the faster the recycle time.
But bigger is expensive and cumbersome and for most amateur flash use a smaller, equally useful flash is probably a better choice.
Next up:
Bounce flash and flash modifiers.

Leave a comment