This series of posts are my notes for a flash workshop I am teaching to the members of The Oakville Camera Club.
Your speedlight used off camera into a softbox with a remote controller can create amazing outdoor portraits even during daylight.
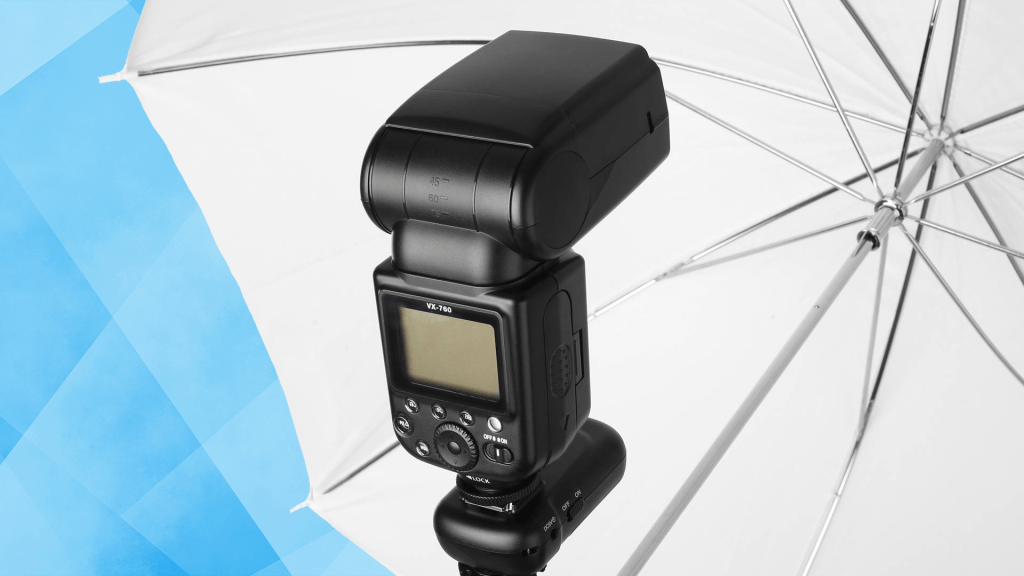
We’re going to setup our flash on manual and our remote will be setup to the same channel and now we will have complete control of the flash. This setup will vary from camera to camera so YouTube is going to be your friend to do this right.
Set the camera on manual and set the aperture to give your image sufficient depth of field. There’s a difference in depth when you’re shooting one or two people as compared to a big family shot. This is a creative decision you, as the photographer, must make.
Set your shutter to your flash sync speed (somewhere between 1/60th and 1/250). The higher speed is preferable so as to control the background illumination. Set the ISO to 100. You’ll find a longer lens somewhere between 85 and 200mm will work the best for this portrait work.
Depending on how close your strobe is to your subject and the aperture you chose this will determine how much power you’ll need to set the flash. Every situation will be different as the light in the background will be continually changing. Taking test shots is the easiest way to determine the correct exposure.
Here’s an old photographer’s trick:
If you’ve only got one flash in a softbox place your subject with their back to the sunlight so that now you’re using the sun as a backlight. This sun light will act just like a rim light which will brighten your subject’s hair.
When you’re shooting outdoors with flash remember the shutter speed controls the ambient light while the aperture controls the light on your subject.
If you don’t have a flash meter take one test photo using only the natural light occurring in the scene. Note the ISO, aperture and shutter speed.
Now set up your flash and fire a test shot.
If the image is too bright turn down the power on the flash or move it further away from the subject of use a smaller aperture.
If the image is too dark turn up the power of the flash or move it closer or use a bigger aperture will work.
Here’s another tip:
For a totally professional look you could use two flashes and one remote controller with one flash in a softbox in front of your subject (off 45 degrees and up 45 degrees) and a highlight flash out of the frame behind your subject aimed at their head.
But here’s the real trick:
You can use the cost-effective mid-size Godox flashes and a Godox remote. I’m estimating the whole setup could come in under $200 if you’re careful. In the old days I’d have paid more than twice that amount for just one single name-brand flash and no second small flash or remote or softbox.
This would make for serious lovely and dramatic images that any professional wedding or commercial photographer would be proud to shoot with their much more expensive equipment.

Leave a comment